 How to convert DVD to DivX using SimpleDivX?
If you want to convert DVD to DivX file, you can use SimpleDivX and follow the instructions below.
Step 1
Download SimpleDivX from HERE. Install it on your PC and then open it.
Step 2
On top of the software you will see nine different tabs. Here you will first start off by selecting the directory in which the burnt VOB files (or entire DVD is). If you burn it with the .IFO, this will include all the information of the movie (subtitles, angles and so on) select this solo file only. If not, do not worry as you can click the select all file tab key. The bottom just details all the information regarding the DVD movie itself. Select the main movie, note the framerate number and click the next tab (Video).

Step 3
Here are the video settings. Select the right framerate based on the one you see in the step before. Click Enable Video Stream and use 0xE0. Now click Auto Retrieve cropping and select width 640. Leave everything blank in Frame Options. You may want to preview the video, and then click the Audio tab.

Step 4
You are now on the Audio section. Here click Create Audio. Then select Check Audio and Deselect Extract all Audio. Now on the language drop-down menu it will indentify what languages are available so that you can encode your final product with. Select the one you want (be careful not to select any director's comment track). Now on Audio Format, you can choose AC3 which will keep the best sound possible (6 channels) but will increase the size of the final file (thus meaning it might not fit on a CD-R.) I suggest to use MP3 and change bitrate to 128kbps. You can click on Midnight Mode (which will normalize the audio to 100% and increse sound in places needed throughout the encode). Then click the Codec tab.

Step 5
Click the codec you will like to use. Make sure you select to create a 2-pass video file. It will take more time, but the quality is going to be much better. In the Advance Settings you can make the video of a higher quality but from experience this file will come out larger than a 700mb disc. You can leave everything blank or select Quarter Pixel (which increases the accuracy of micro-blocks within the film). The interlace option can also be used if wanted. On the fourth step screen again, you will see at the bottom Pass Options. You can choose Do both passes, but if for some reason you want to do a First Pass then after a day do the 2nd pass then this is also possible. Now click at the Compression tab.

Step 6
On the top make sure you click Enter Final Movie Size. Then Get Time from Movie. In the File Size bar put in 700mb if you want it to fit on one disc, but if you know the movie is very long for example ''The Godfather'' then this will be better spread onto two discs, so choose 1400MB. Now this is where it gets a little complicated. If you place your movie and you have followed everything in this guide and the movie's Bitrate is 700kbps or less, then you can either click at the bottom End-Credicts and click Do Not Include end credits in movie (if available). Another tip is if you are watching a movie and you know there is not much action in it (i.e. Slow Mystery) then click in the Advanced Bitrate Parameters (Not Much Action in movie). If your movie is over 740kbps in the Bitrate section then do not worry at all. Now click the Misc tab.

Step 7
This is very simple. If you want to Create Subtitles using VobSub then click this. It will list all the available languages. Click the one you want (If you are watching the finished movie with Windows Media Player and want to see subtitles, make sure you have the final movie in a folder with the two subtitles) and it will play them. Also make sure you always click AVI as the movie's container. After you do so, click the Project tab.

Step 8
Here in the project name, call the movie whatever you want (preferably the title of it). Create a temporary folder on your harddrive for SimpleDivX to store unfinished, unsorted data. (tip: make sure you clean this out once in a while because it can get huge in size). Make an output folder for the finished movie. Do NOT click overwrite files and delete temp files when finished because this will tamper with your workflow. Just delete manually and especially problematic if you are doing a lot of jobs. The split total file at feature is great because if you want to put the movie onto two seperate discs, then this will split it at 700mb to be able to fit onto a disc. Deselect if you want oneAVI movie (of whatever size) without a cut. The Batch settings section is very handy as you can place jobs, if you are doing more than one movie, and it will do them all together. Just remember that everytime you click on a job and change something then click Modify so SimpleDivx can understand what you have changed. Then click the Output tab.

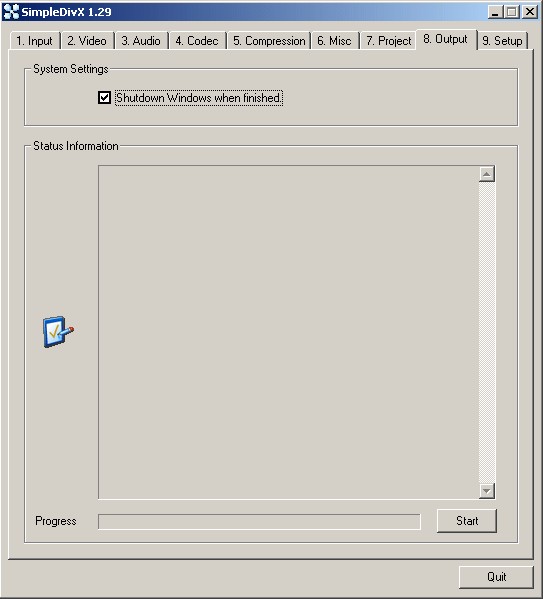
Step 9
This will basically explain what is going on with the encoding process. If you want to Shut Down the Computer when the encoding process finishes select it. And then START to start the encoding process. And it will begin. The Last tab stated as Setup should be left UNTOUCHED.
