 How to create WMV files?
Windows Movie Maker is a very convenient tool for creating WMV files. Open Windows Movie Maker. A window is shown as follows.

Three steps are presented.
Step 1: Capture Video
With different options, you can choose different kinds of media. Select and import the media that you would like to use to create your WMV file. The media can be a video, pictures, audio or music. Movie Maker can read a variety of video, audio and image files, including AVI, WAV and JPEG.
Step 2: Edit Movie
Click Show Collections, and the media you have selected are presented in the middle window.

You can also choose and view video effects, view video transitions, make titles or credits or make an AutoMovie. To arrange your files, simply drag and drop them on the storyboard below. Click Show Storyboard in the bottom part, it will switch to the timeline editing. By this way, you can edit the storyboard and the timeline.
Step 3: Finish Movie
By clicking different options, you can save the movie you have created just now in different places. You can save it to the computer or to CD, or send it in e-mail, to the Web or to a DV camera.

If you want to save the movie to your computer, click Save to my computer. An interface below is presented.

Type in a name for your WMV file in the first box. If you do not type in a new name, your file will default to the name "Movie". Click on the Browse button and search for the folder where you would like to save the file. When you find the folder, click OK. Click Next to proceed to the next screen.

In the bottom of the interface, there is the information of the setting details and the movie file size. After finishing the setting, click Next to save the movie.


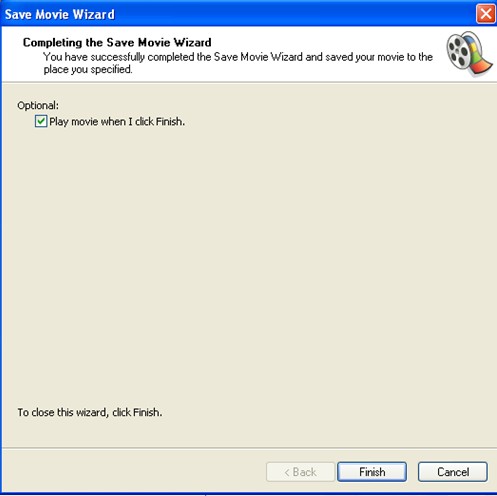
Click Finish to save the file in the directory you have chosen.